- Starting with vRLCM upgrade it is pretty simple , I am using offline mode because I do not have internet to my lab , You can use myvmware account .
- For offline mode we need to download the upgrade ISO From myvmware site. Below is the screenshot of correct file.
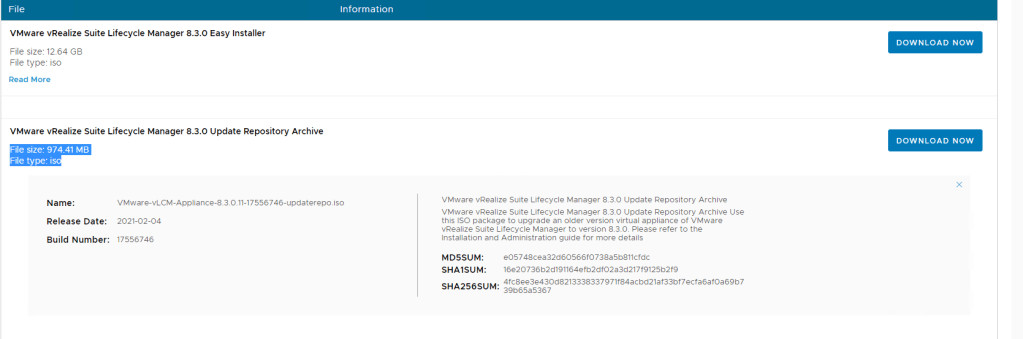
- Once we have downloaded the ISO , we need to attach the ISO to vRLCM VM. I am assuming copy the file to the datasstore is known to everyone .
- Once we have ISO in datastore we need to mount to VM by edit setting and mount CD

Once it is done Go to to vRLCM LifeCyle Operation view and click on System Upgrade

Click on CD ROM and click check for upgrade

Do not forgot to take snapshot before click on install , Once you click on install , It may take 10-15 mins max

It will restart the system by its own and it will take 5 mins to come back

Once the system is upgraded , Go to System details and You would see the vRLCM is upgraded to 8.3
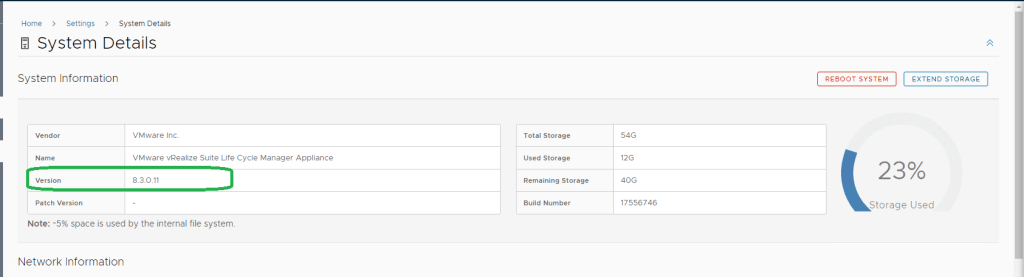
vRLCM 8.2 upgraded to vRLCM8.3
Now lets jump to VIDM 3.3.4 from VIDM 3.3.3.
I am using offline mode for this product also .
First we will download the package from myVMware and download the package for vRLCM

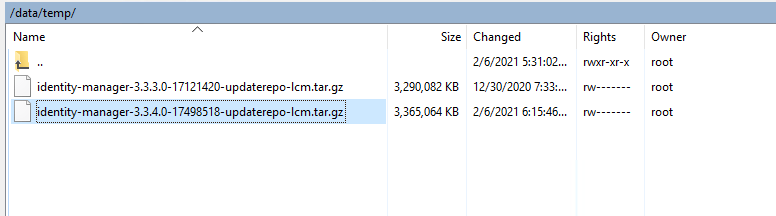
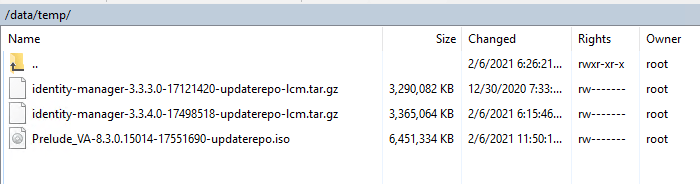
Once package is download , I will use the winscp to transfer to /data/temp.
Note: /temp I have created it and you can use any existing directory .
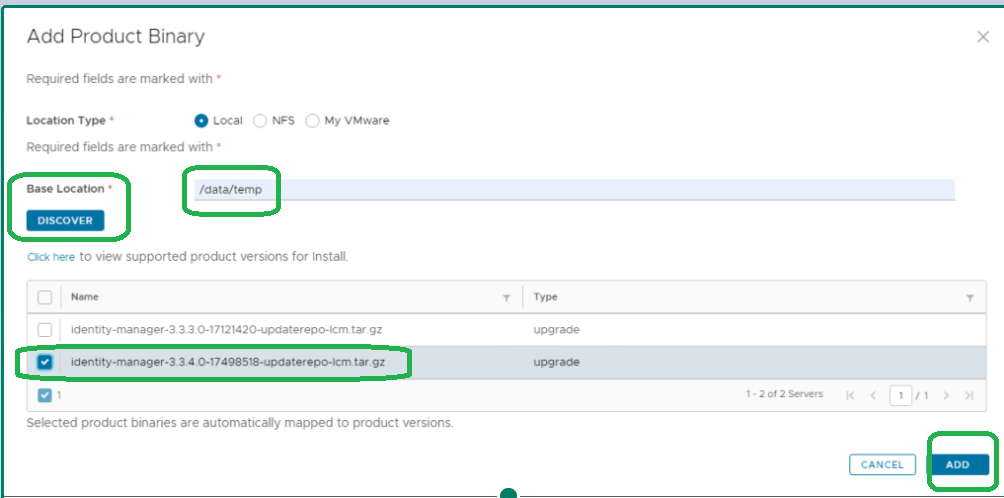
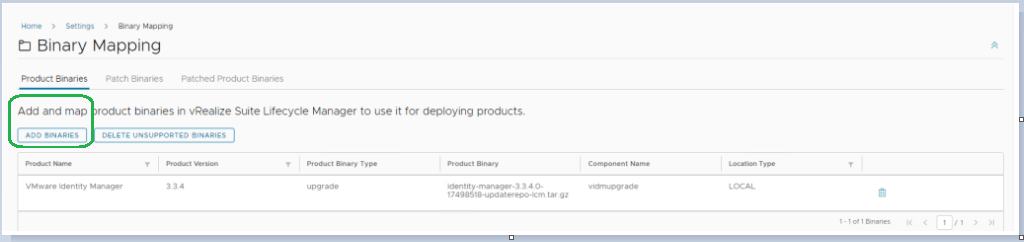
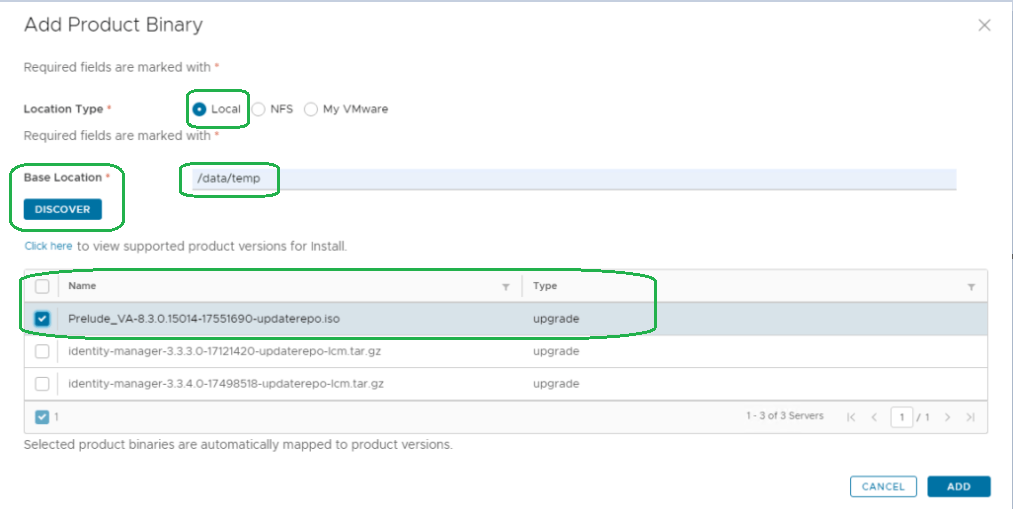
Now files are transferred , lets map the binary in vRLCM 8.3, To do that click on Binary Mapping and Add Binaries

Since I have uploaded to /data/temp. I have chosen local to discover
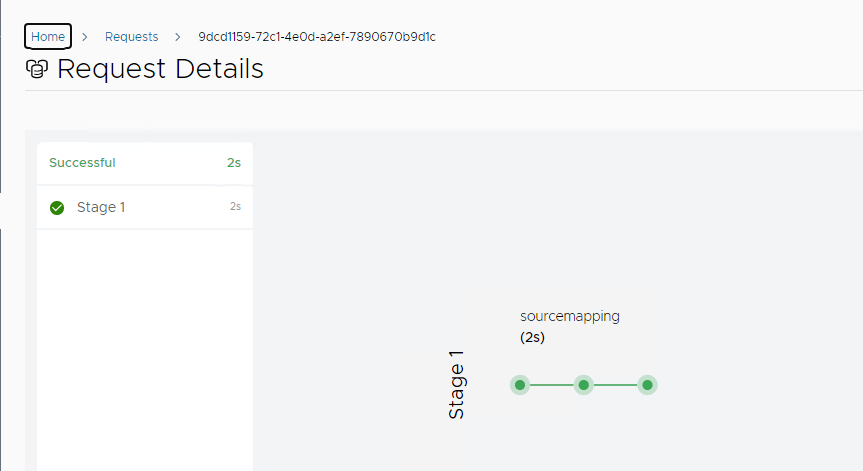
Once Request is submit .Click on request page to see the status

It will take 3-4 mins to complete the request , Once request is completed you would see like below.
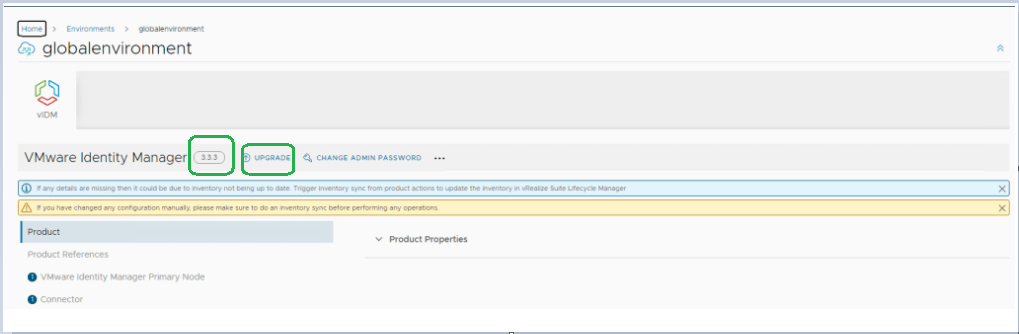
Once It is done Go to Global environment and click on view details . You would see the upgrade the button for VIDM 3.3.3.
Note: Make sure you have taken the snapshot in vCenter for VIDM vm and now click on inventory sync.
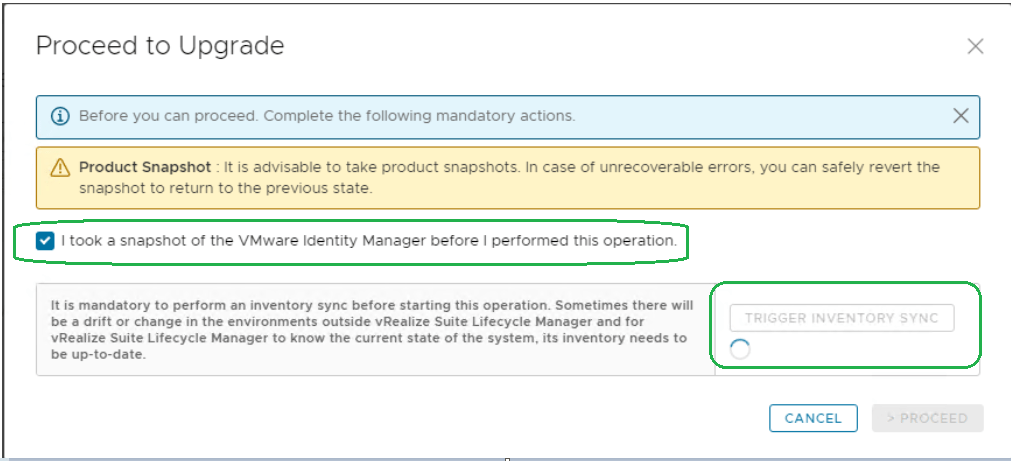
Once sync is completed you would see proceed button is enabled
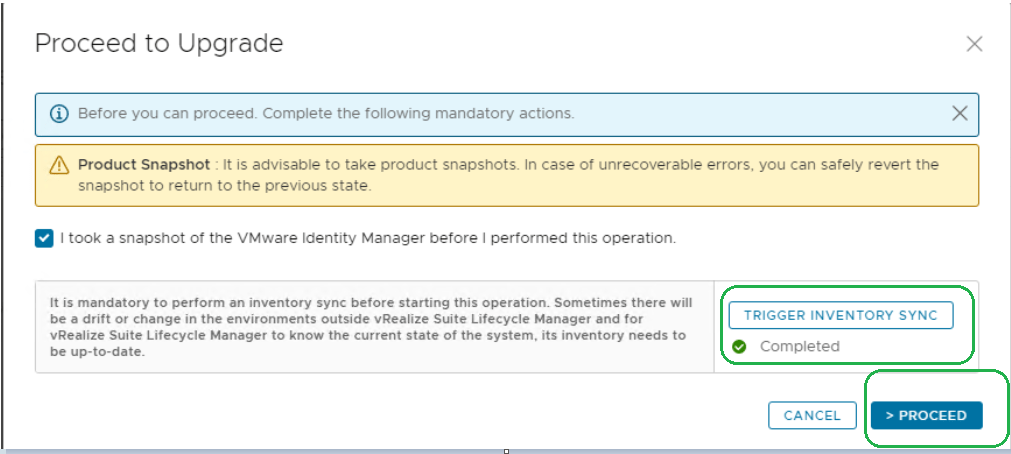
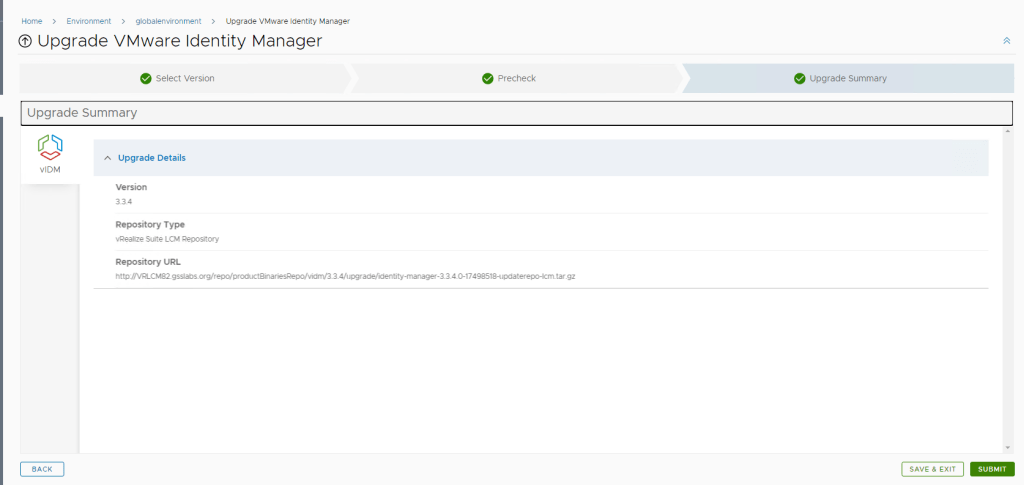
Once you click on proceed , you would see review configuration page
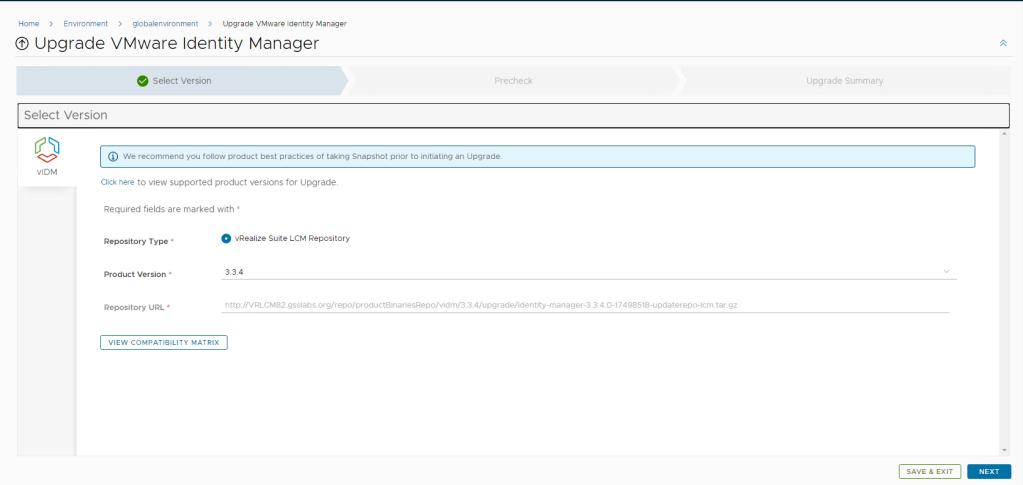
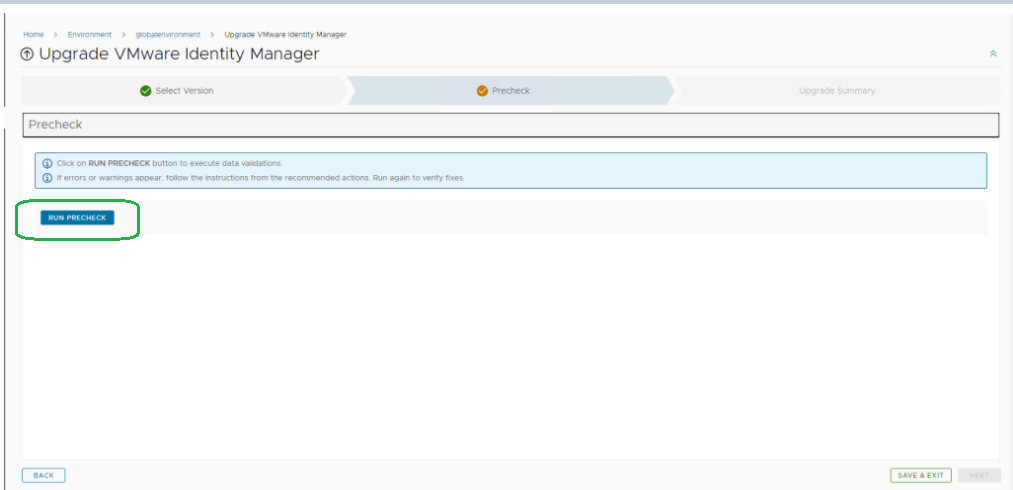
Click Next and Click on Run Pre-Check
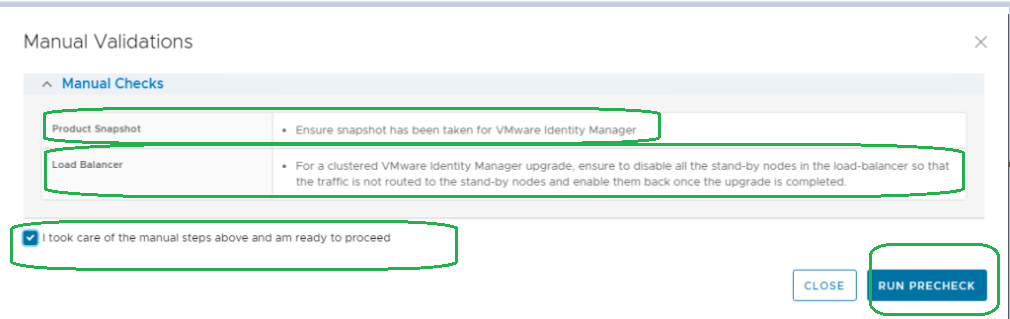
Once you click on Run Pre check you may see pop for confirmation of the snapshot and make sure you have disabled the Stand by nodes in Load balancer.
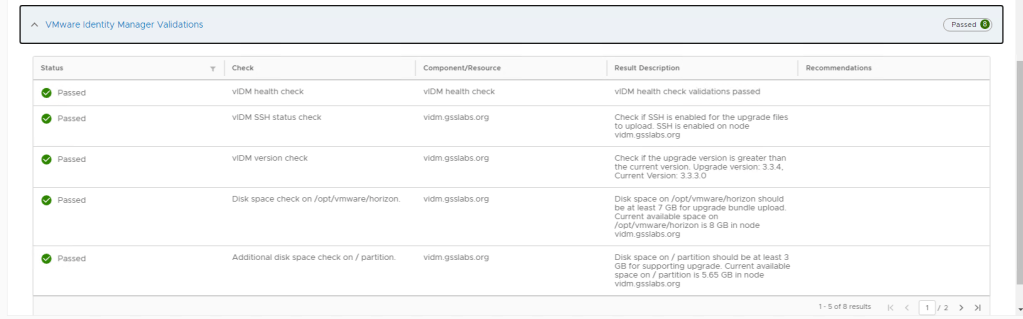
Once Precheck is completed , You would see like below , These are the health check performed.

Click Next and submit
I have only one node and it took 30 mins for all 3 stages to complete.

VIDM is also upgraded to 3.3.4
Lets Jump to vRealize Automation 8.3
I am using the Offline upgrade for VRA 8.3 as well , First step is to download the offline upgrade repo from myVMware. Here is the reference screenshot of which file to download.

Now we have downloaded the ISO, Lets transfer this ISO to vRLCM 8.3 Appliance using WinSCP.
Lets go to vRLCM 8.3 life cycle operation Manager view and click on setting and Binary Mapping.
Since I am doing offline , I would choose local and provide the location where I have copied the file in previous step.
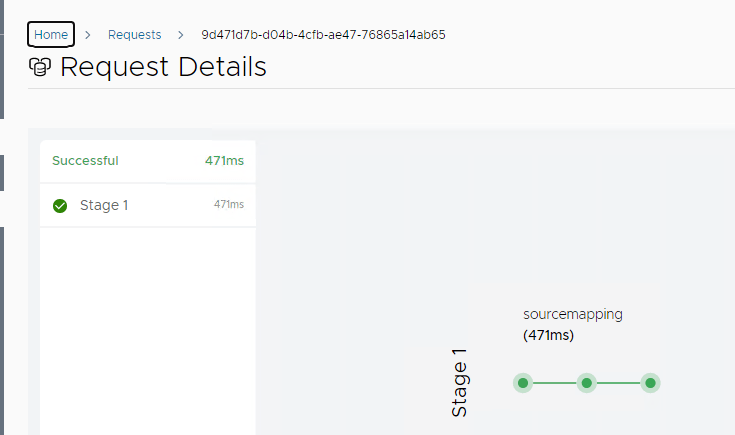
Once you click on add , Go to request page and view the status.
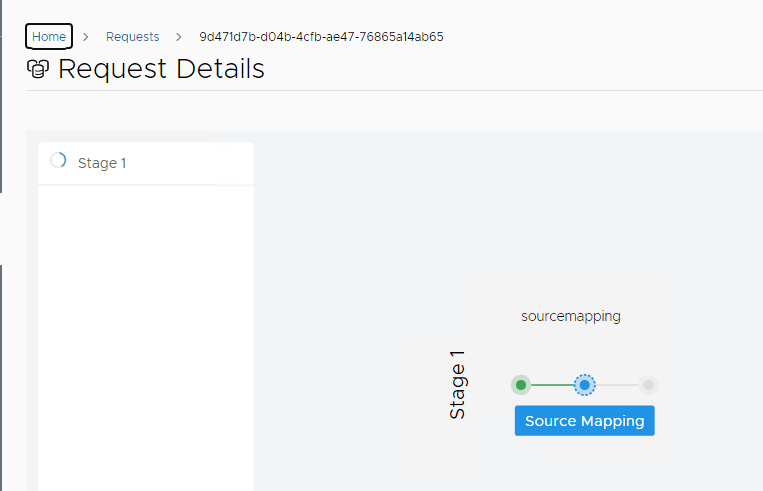
It took 471ms for me to complete the mapping.
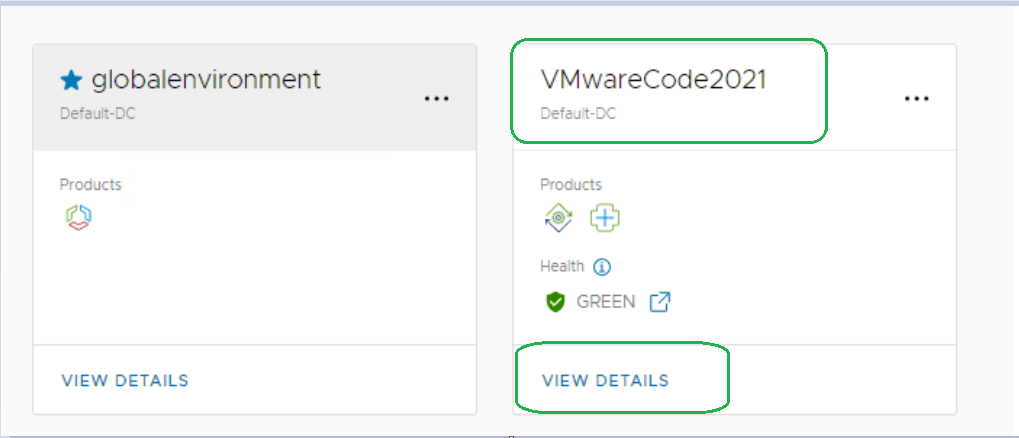
Once mapping is done , Click on the environment where VRA is added , for me it is VMwareCode2021.

Once you click on upgrade ,It will ask for inventory sync
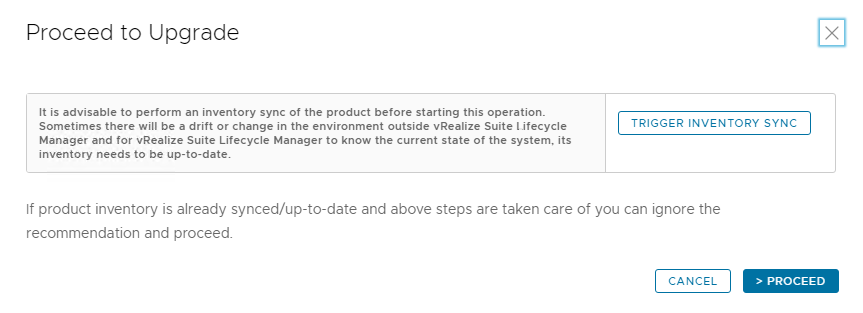
Once inventory sync is completed click on proceed and you will be prompt where it says Snapshot will be taken as part of VRA upgrade .
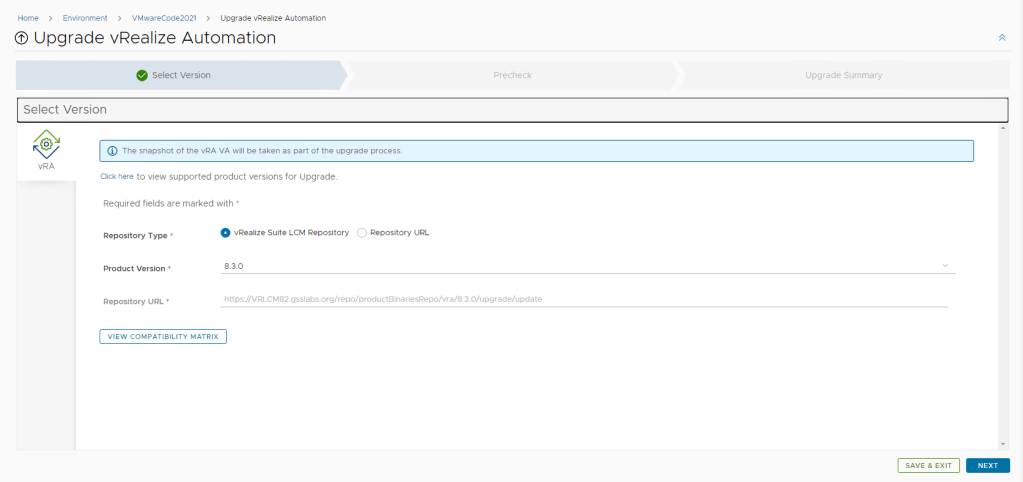
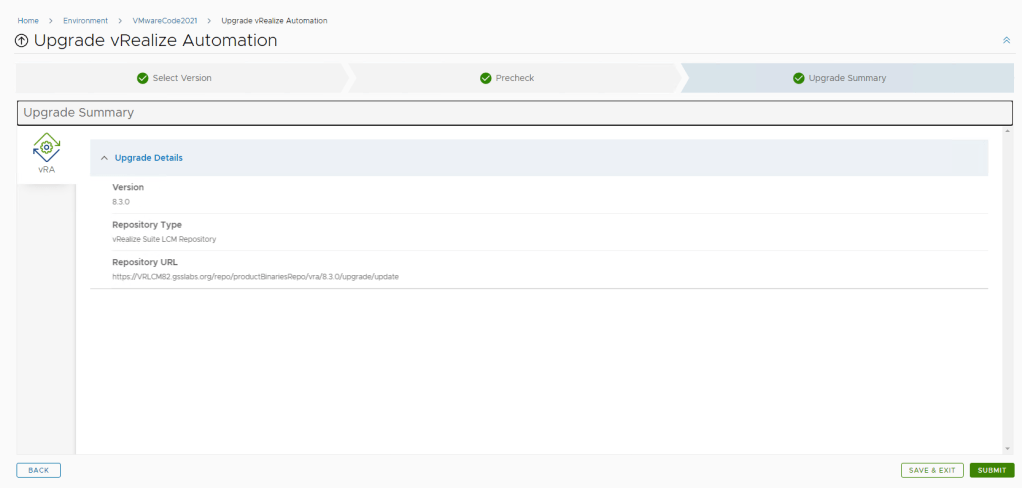
Once you click on next , You will be prompted to run the pre-check .
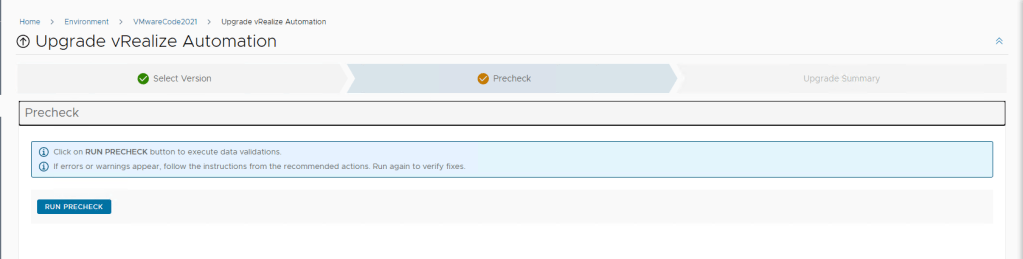
Make sure you have checked the hardware compatibility and Resource guidance

Make sure all the validations are passed in pre-check , Below are the checks it performs .
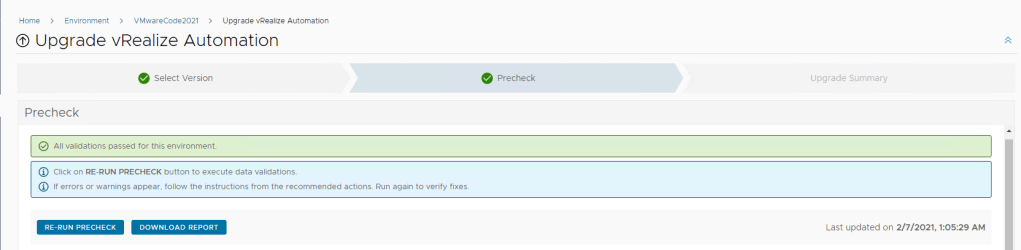
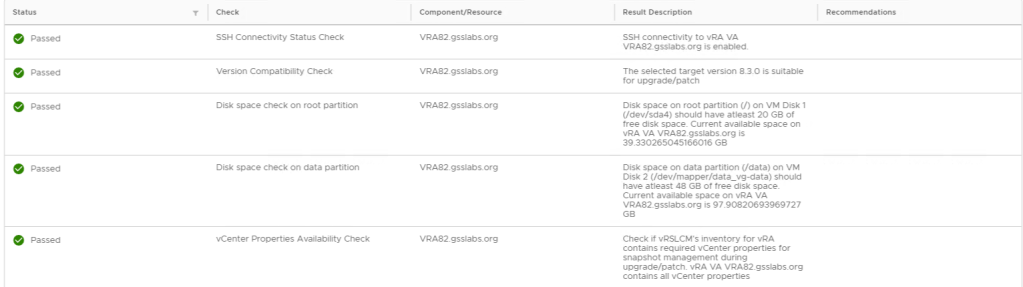
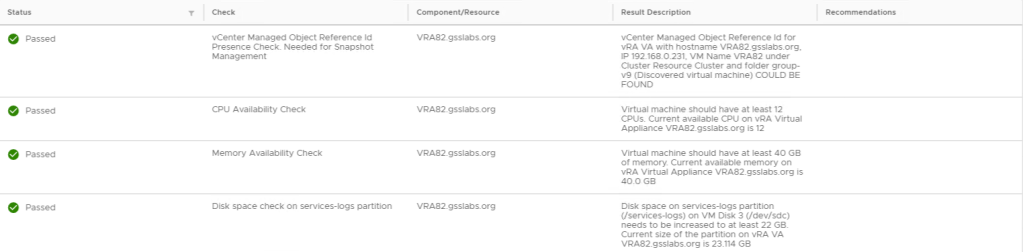
Final Click next and submit.
It took 2 hours for my environment to get upgraded to latest 8.3 version.
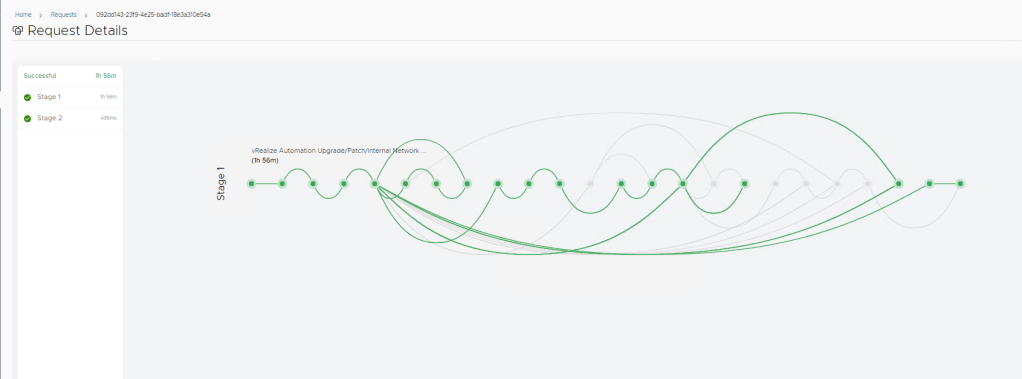
All 3 components have been upgraded to latest 8.3
